Flash Guns
For water drop photography you really need flash and ideally off camera flash. You can get by with a single flash but if you want nice looking backgrounds then you need 2 or more.
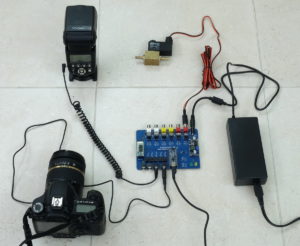
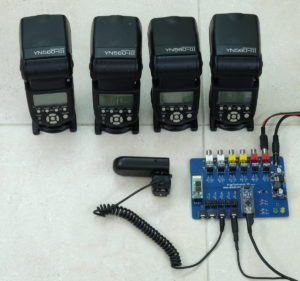 My normal setup is 4 Yongnuo wireless flash guns. I have a Canon camera and so also have the Yongnuo Canon remote trigger. The trigger is connected to the dropController not the Camera and it is the dropController that triggers the flash.
While it is possible to take splash photos without flash the results are not going to be that good; you need a fast shutter with a small aperture which normally requires lots of light.
The normal way to shoot high speed photos is to use an open shutter in a dark environment and fire the flash at the right moment.
– turn the lights off
– open the shutter
– fire the flash
– close the shutter
In this way it is the flash taking the photo not the shutter.
Aperture and Ambient light
A common technique used in high speed photography is to shoot in a dark room with a long shutter speed with flash, and the same technique is well suited to drop photography. I have found that as long as the environment is not bright I do not need to be in total darkness and I can use the aperture to control the ambient light (another standard flash photography technique).
Using a longish exposure (half a second to a second), a small aperture, and flash, it is the flash that produces the photo and the aperture can be used to control the amount of ambient light allowed in to the shot (as well as the depth of field). Reducing the aperture can only go so far though and it is still better to reduce the ambient light as much as you can.
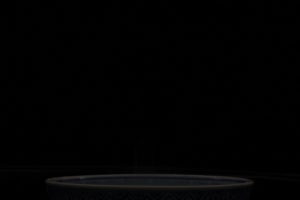
To test your own environment, take a photo without the flash. Use manual mode with a shutter speed of half a second or a second. If the image is black you are OK. If it is bright or has too much detail either lower the ambient light or decrease the aperture size. You are looking for a dark photo at around a half to 1 second exposure.
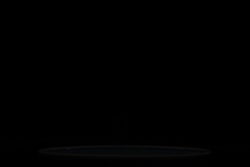
The first photo was taken at F11 and you can still see the edge of the bowl. The second photo was at F16 and is (almost) totally black. Both photos were taken in daylight, inside with the lights off, not in total darkness.
As long as you are not in bright light you can remove ambient light by reducing the size of the aperture. This also has the benefit of increasing the depth of field. Caveat: the smaller the aperture the more light you need to take a photo. At F16 four flash guns is fine. Two flashes would probably not be enough though.
Flash Leads
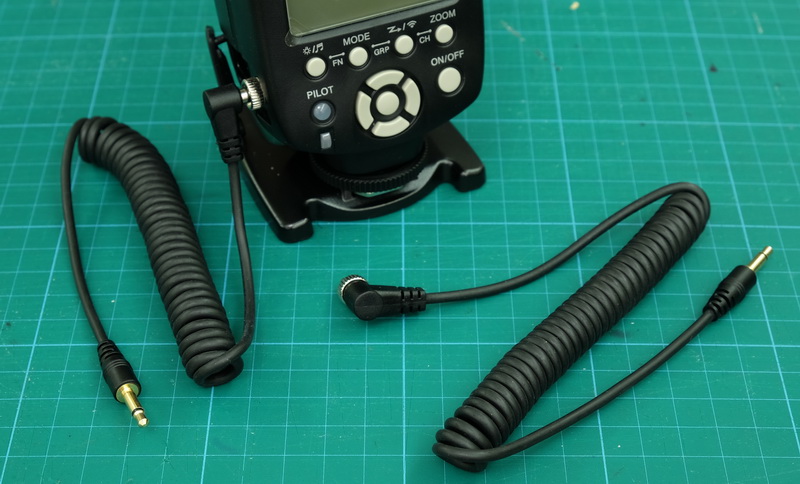
The trigger ports on the dropController are standard 3.5mm sockets. Speedlite/light flashes generally use PC sync ports so to connect the flash to the dropController you need 3.5mm to PC sync leads. These are very common.
Hot Shoe Adapters
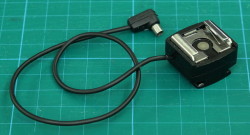
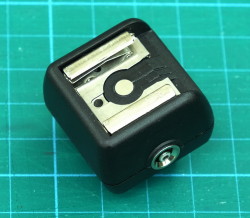
If you have flash guns that do not have PC sync terminals there are hot shoe adapters available. These attach to the flash trigger plate and add either a socket or a small lead.
Shutter Trigger Leads
Depending on the camera you are using, a shutter lead may or may not be easy to create. Of course you can simply buy one.
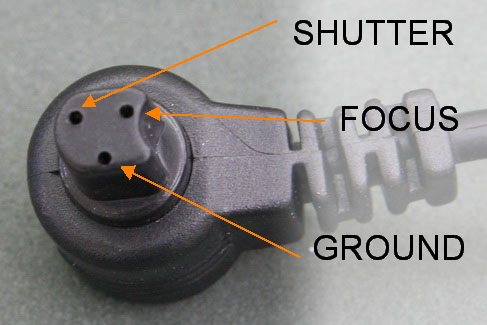
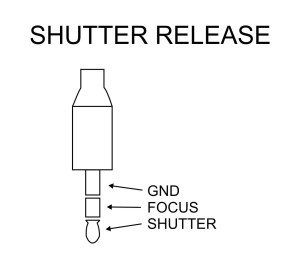
The dropController uses the following shutter release connections.
he 3.5mm plug has the following connections:
I have a Canon 40D which uses a proprietary N3 connector and it is hard to source just the plugs. It is far easier to buy a lead or adapt a cheap shutter release. The shutter release I bought was under US $10.00.
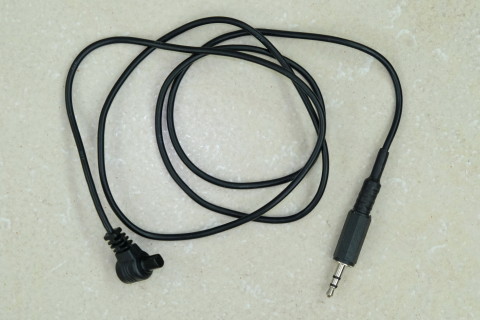
The shutter release is basically a couple of contact switches. Connect the focus pin to ground and the camera focuses. Connect the shutter pin to ground and a shot is taken. For this particular cable; white is ground, red is +3V shutter release and blue is +3v focus. Other makes will have different colours.
Other cameras will have different styles plugs. For example newer Canon cameras use a regular 2.5mm stereo plug and creating a lead is fairly straight forward.
For more information about different cameras and shutter release connections see the excellent Camera remote release pinout page at http://www.doc-diy.net.
