When I first started I used what ever was on hand, chair backs, stools, lengths of wood taped together. I used a couple of tripods for a while before making my way to lab stands and then to aluminium extrusion..
Lab Stands
Lab stands (retort stands) are easy set up and adjust and make it fairly simple to get started with water drop photography.
I live in a very small apartment and generally use the dinning table as my work bench and the lab stands were easy to pack away at dinner time. I used lab stands for quite a while and developed some fairly complex and not so stable contraptions out of them.
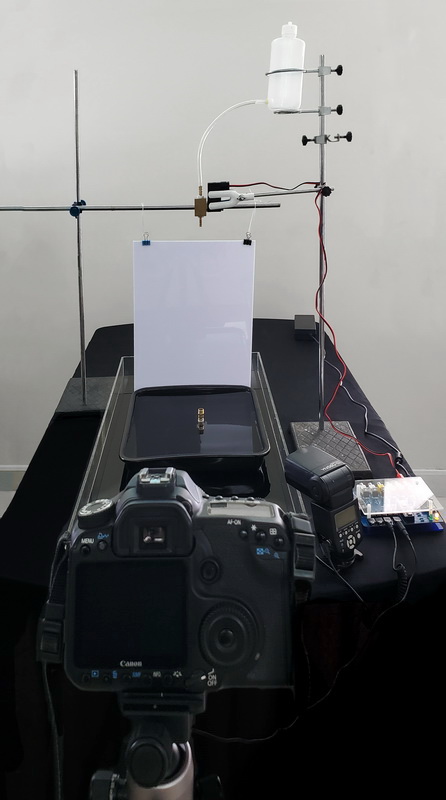 Here is a simple one valve set up.
One stand holding the valve and another stand holding the back drop.
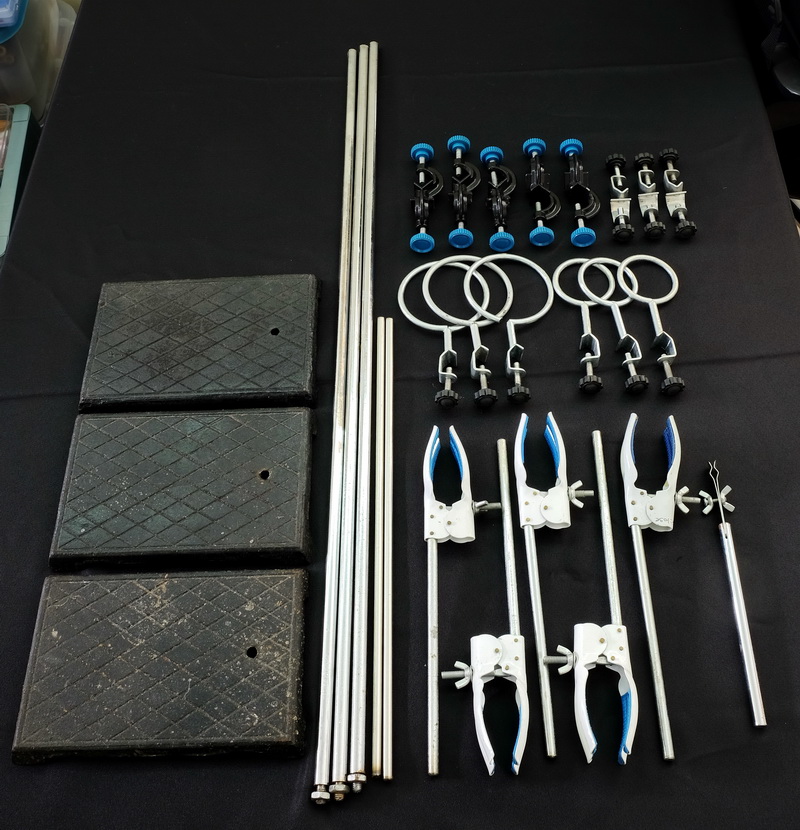 One of the nice things about using these stands is the large range of accessories that are available. Here are some of the parts and accessories I have.
I had extra long uprights made.
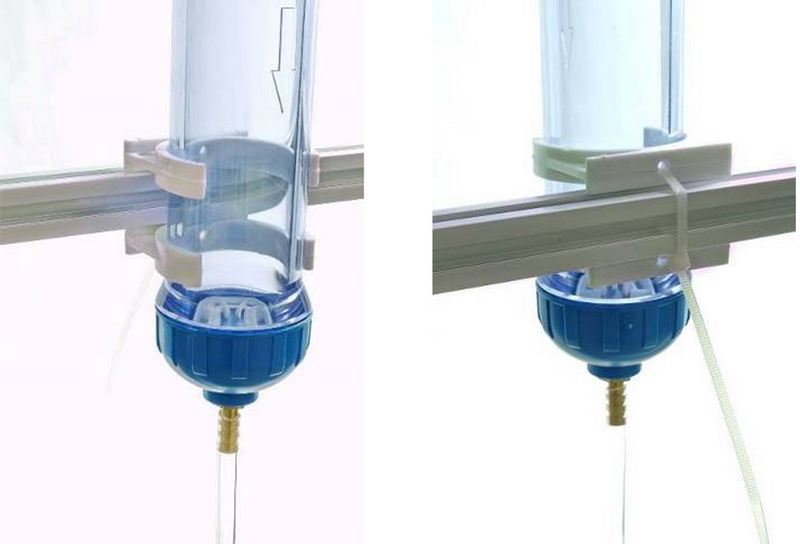
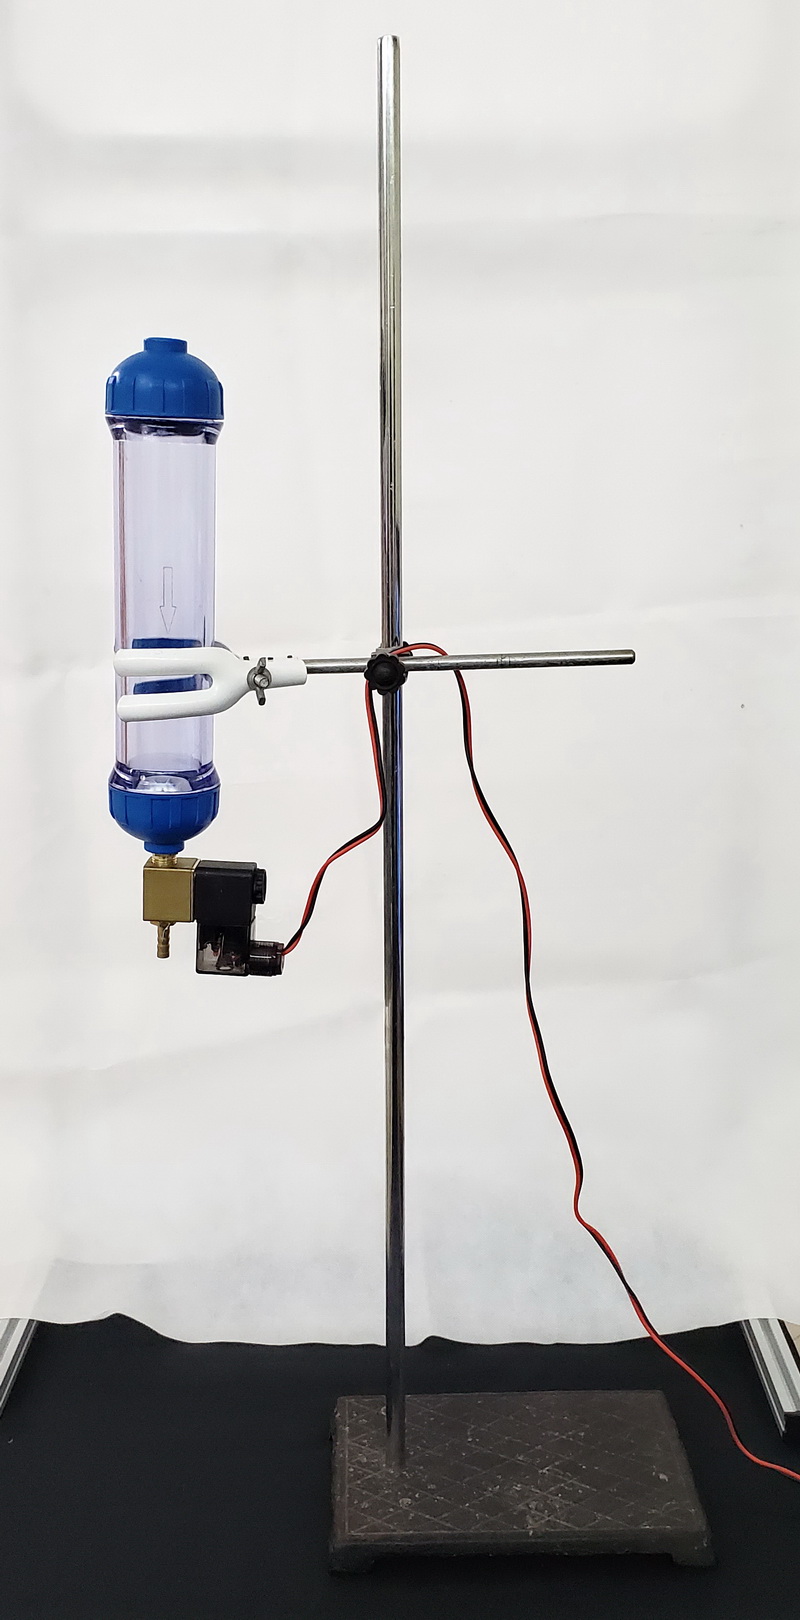 And here the valve and bottle are connected directly together.
This is an easy way to get started with a single valve.
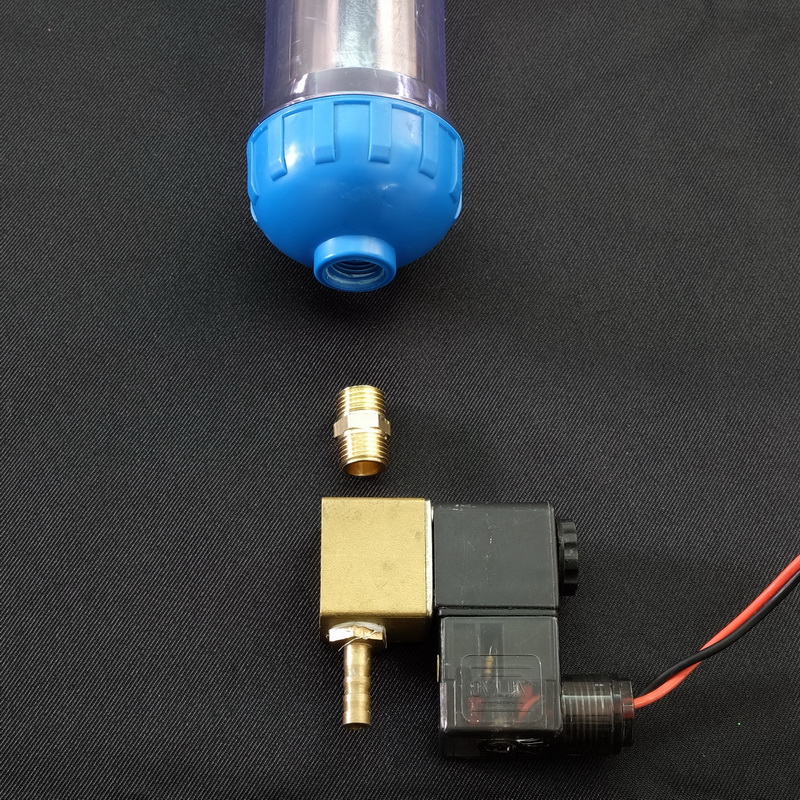 When using a lab stand a convenient method is to attach the valve to the bottle using a double sided connector.
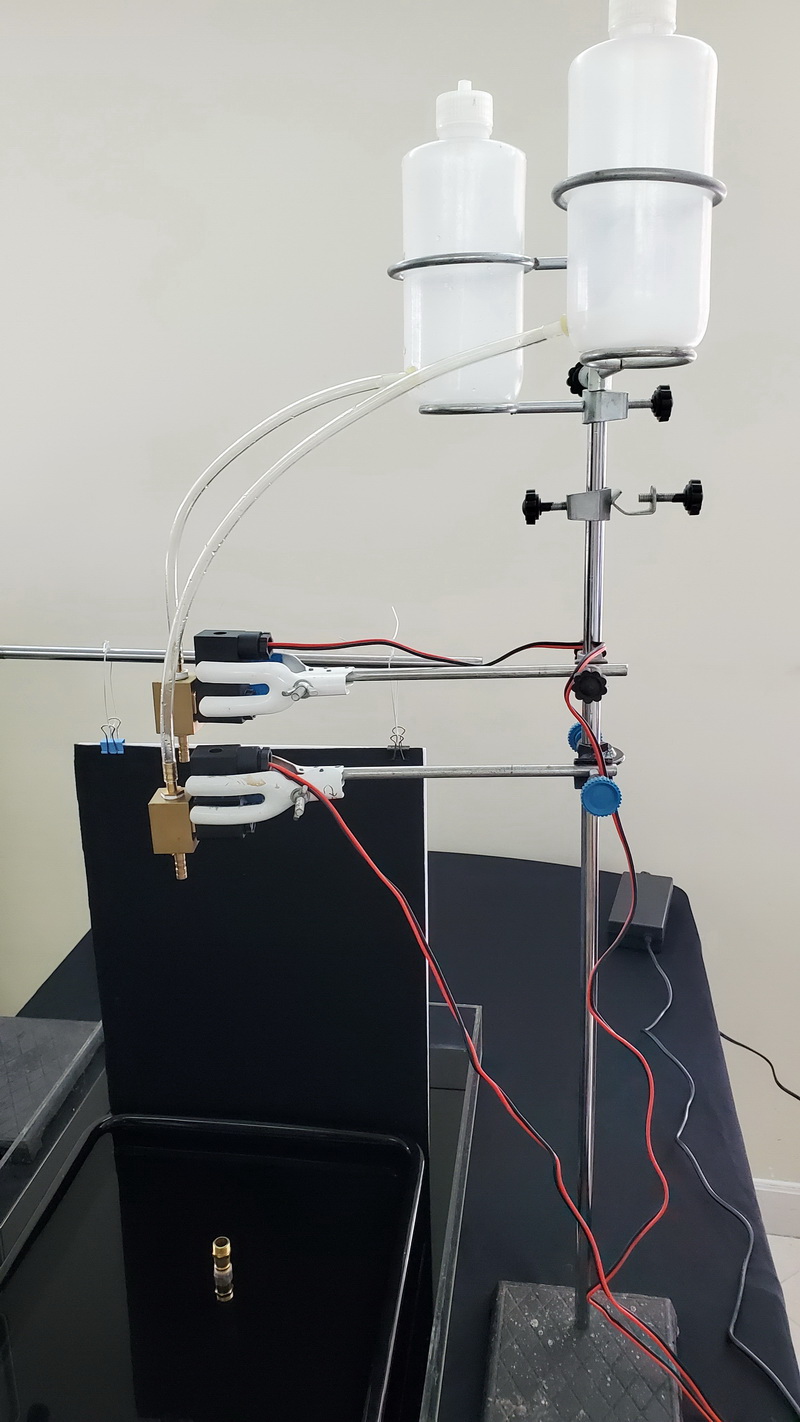
Here is a two valve set up. Two valves on a lab stand is possible but not the best solution.
Lab stands make getting started fairly easy but they can become limited when you start using more than one valve. I now normally use an aluminium frame and use the lab stands to support the backdrop.
Aluminium Extrusion
As you become more serious you will probably start thinking about a more permanent frame. There are a few options; wood and aluminium extrusion are popular. I don’t have the space or tools to work with wood but I do have a local supplier of aluminium extrusion.
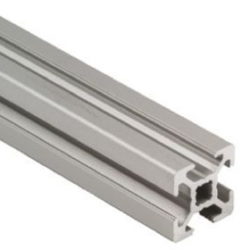
Almost any size is suitable, 2020, 2040, 4040. 4080 is good you want something really solid. I use 2020 in 50cm lengths. This allows me to build different stands depending on what I am doing. A major benefit of aluminium extrusion is that you can completely tailor it to your needs and make it as big as you like. For the most part I keep it simple.
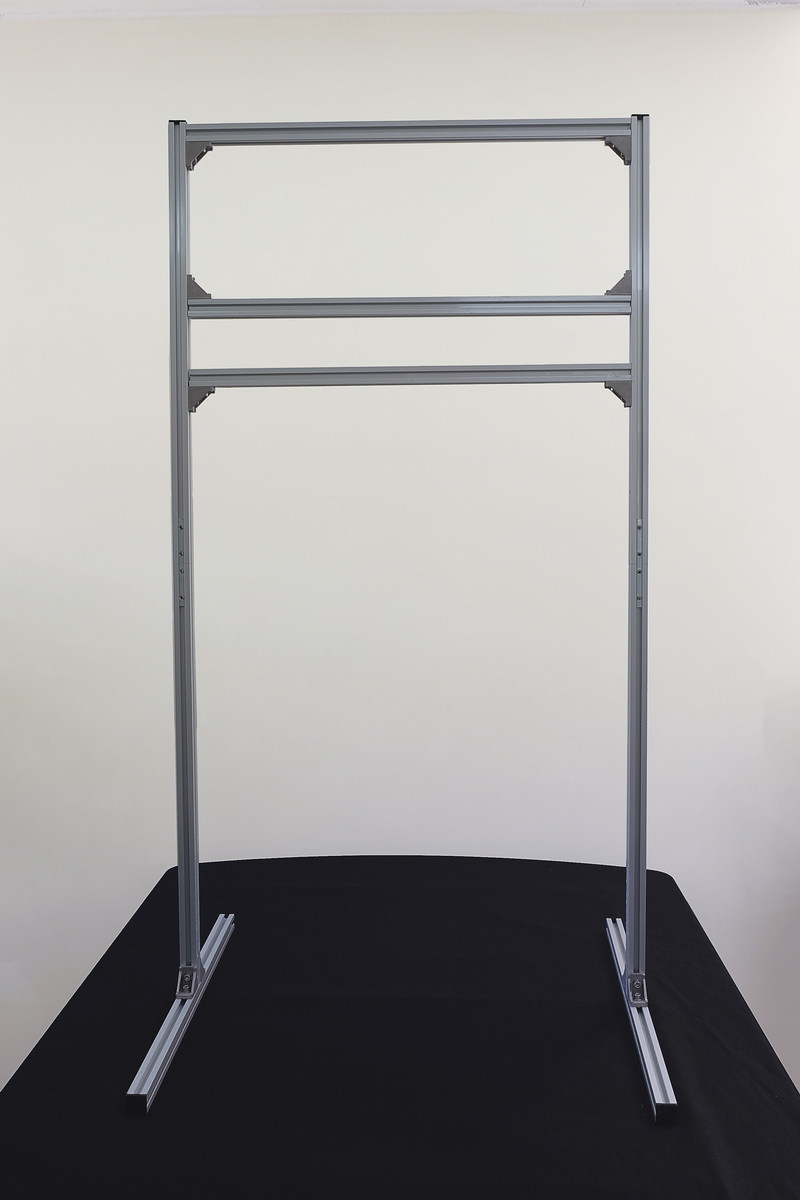
This is a fairly basic frame built to fit either side of my large acrylic trays. All that is required to build a similar frame is:
 2020 50cm length x 9
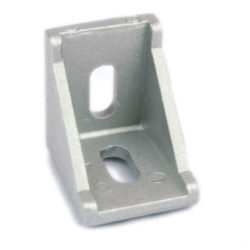 corner x 10
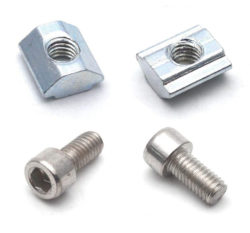 M5 nut and bolt x 20 each
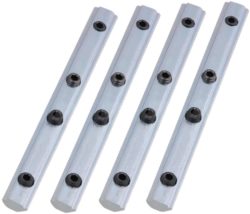 2020 straight joiner x 4
M5 grub screw for the joiner x 16
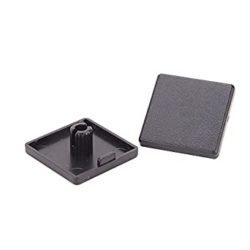 End cap x 6
There are many variations of the above parts and you do not need to have exactly the ones shown above. If you are not familiar with aluminium extrusion it may be worthwhile browsing an online shop to see what is available.
You then need something to hold the bottles and the valves.
 To hold the bottles I use regular bottle clips secured with cable ties.
You can also attach the clip directly to the frame if you have a suitable nut and bolt.
Using cable ties was supposed to be a temporary solution but it has worked so well I now recommend it. The bottles are secure when making drops and also easy to remove for cleaning.
To hold the valves I had brackets milled. These are available in the shop
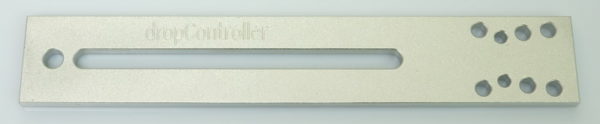
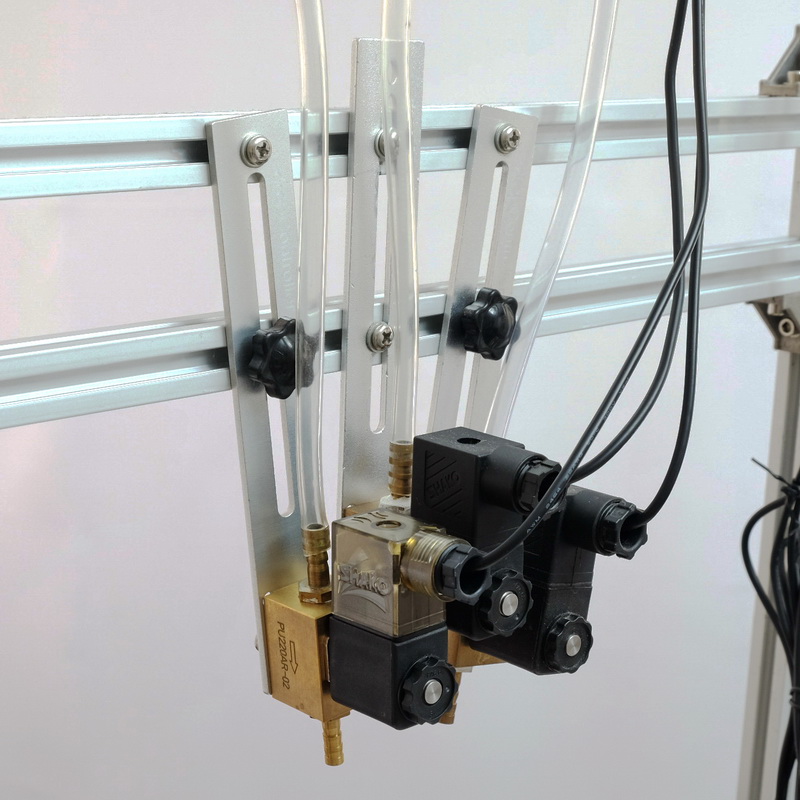
Raising the centre nozzle gives space for the nozzles at the sides so they can be moved further inwards for aligning the drops.
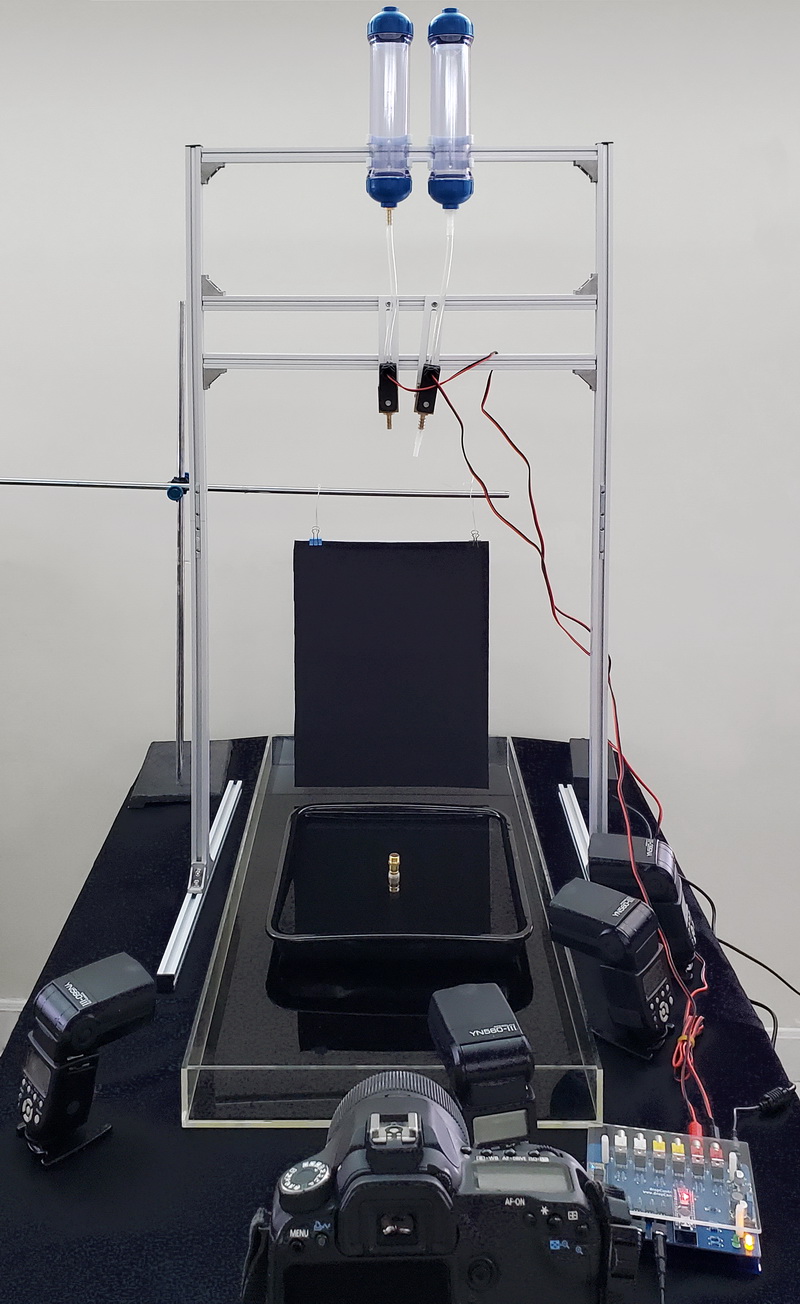 2 valves and 4 flashes.
This is set up for milk which is opaque and I have all 4 flash guns at the front. I haven’t started shooting yet and I will need to add blinds/flags to block light hitting the background.
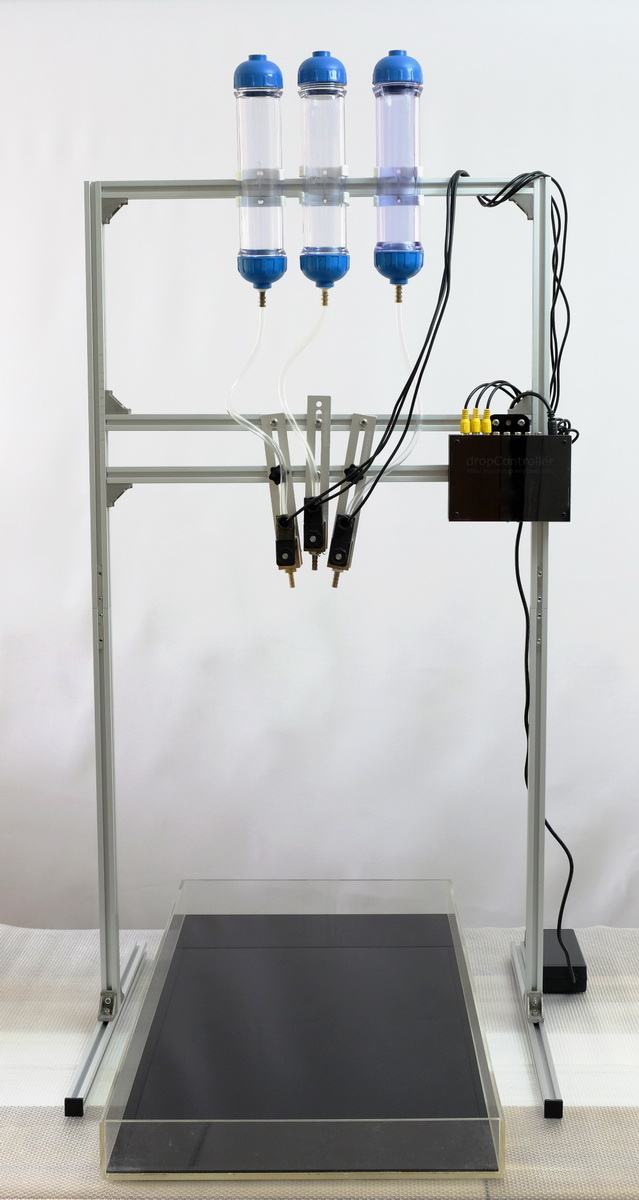
And here is a my usual 3 valve set up without the background.