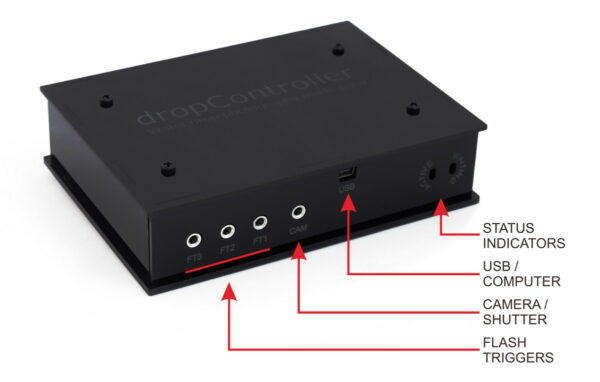
The dropController is fairly straight forward to connect up:
- Shutter release port to the camera remote shutter connector
- Flash trigger port to trigger in on a flash or flashes
- Solenoid valve lport to a solenoid valve
- Power in to power
- If you are using the PC control app, a USB lead connecting the USB port to the computer
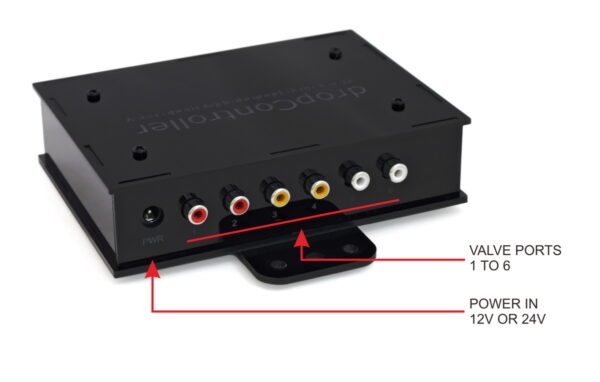
The following couple of images show the basic connections.
- A valve connected to valve port 1
- A camera (Canon 40D) connected to the CAM port. There is an extension lead on the shutter release cable
- A flash connected to the FT1 port
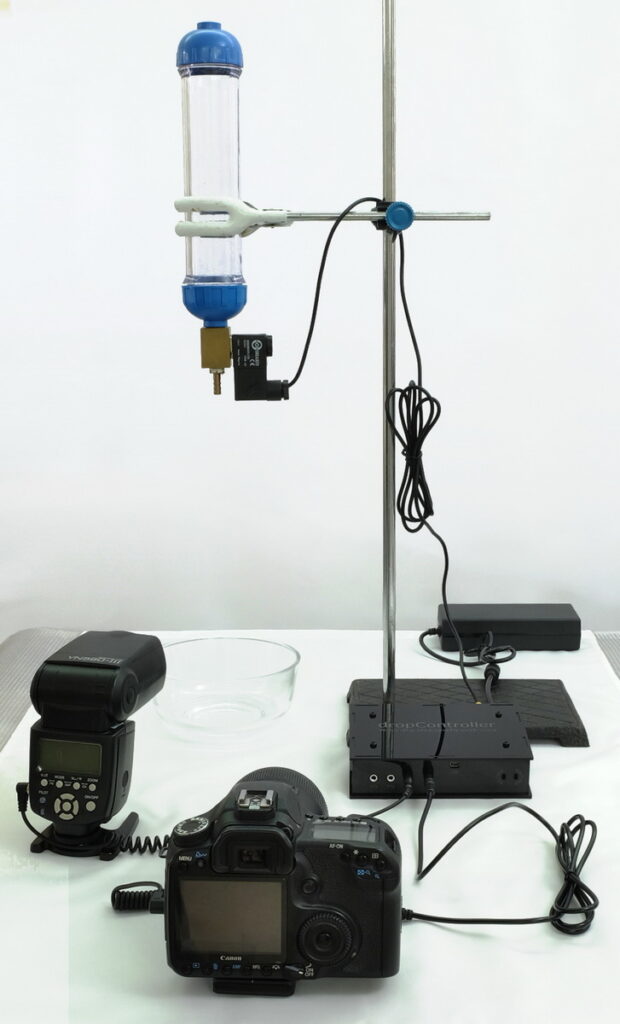
Note: The camera would actually be on a tripod 🙂
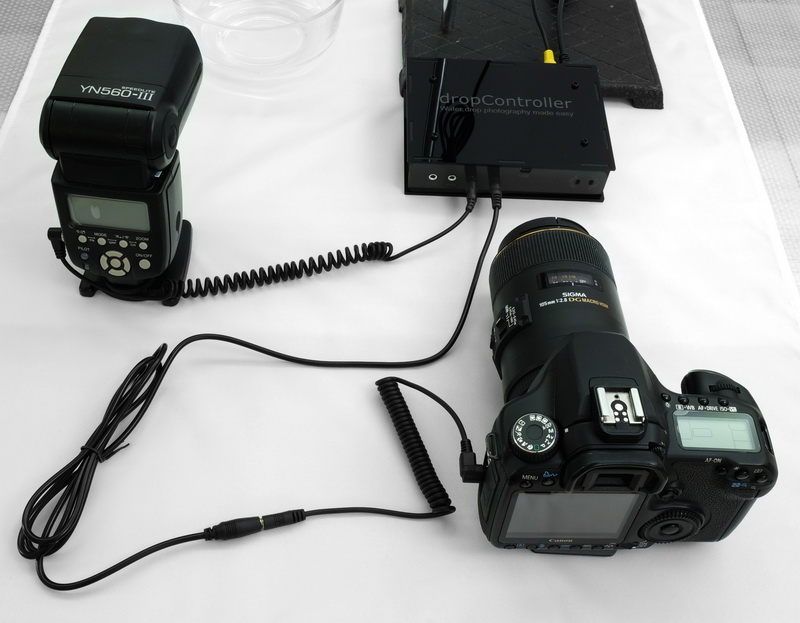
Flash Triggers
When using more than one flash, connect all of them together on a single flash port. The additional flash trigger ports are designed to trigger flashes at different times rather than trigger multiple flashes at the same time.
For more details about using multiply flash see Using Multiple Flashes.
Trigger the flash from the dropController or from the camera?
Both methods can be used with the dropController. In the above images I have the flash connected to the dropController. This is my preferred set up and the one I recommend. The flash can connected to, and triggered by, the camera but this means you need to calculate things like shutter lag time and worry about flash sync times.

When the flash is connected to the dropController it allows very precise control of when the flash is triggered and means you do not need to worry about shutter lag.
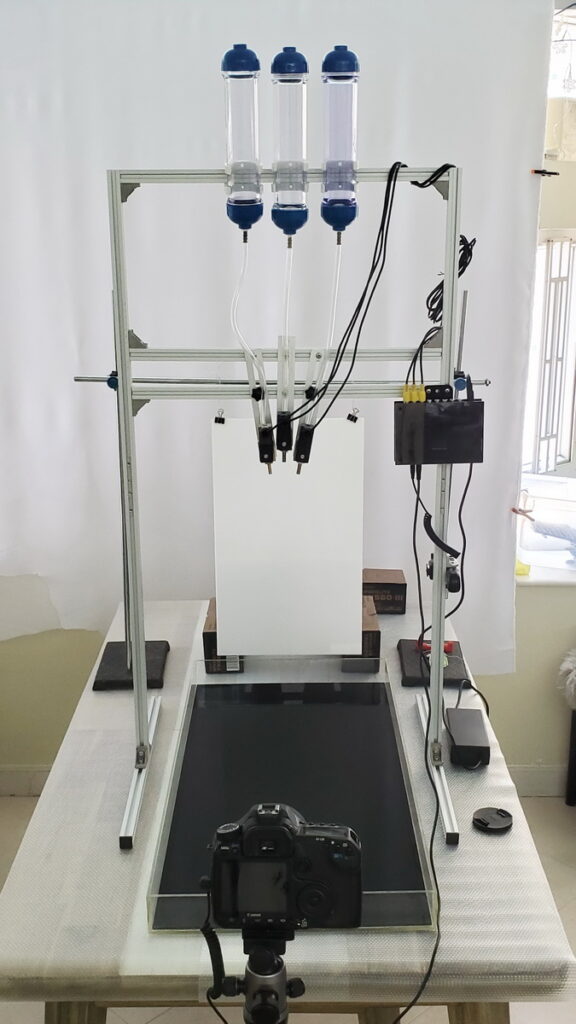
Set Up Featuring 3 Valves On a Frame.
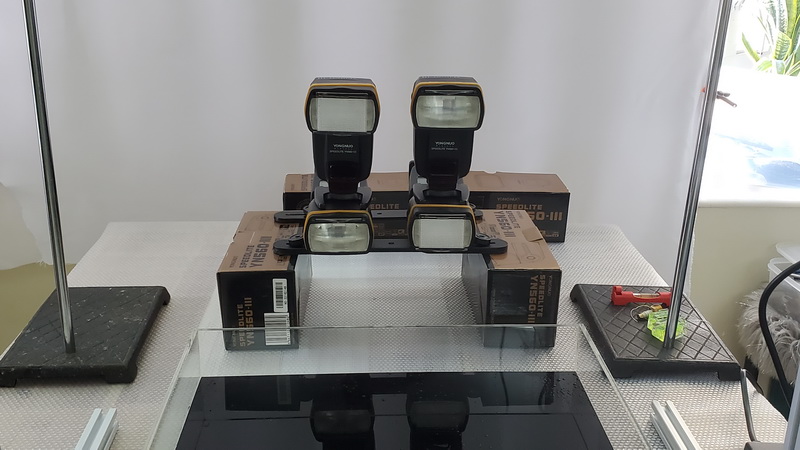
The flash are behind the white acrylic sheet facing forward.
The flash are triggered using a wireless remote.
Adding coloured gels to the flash results in nice coloured backgrounds. See the backgrounds guide for more information.
This is a really basic introduction to creating a water drop set up intended to get you started. Once you start taking photos it is a case of tailoring the set up to meet your own requirements and ideas.
For more information about equipment and stands have a look at the guides.