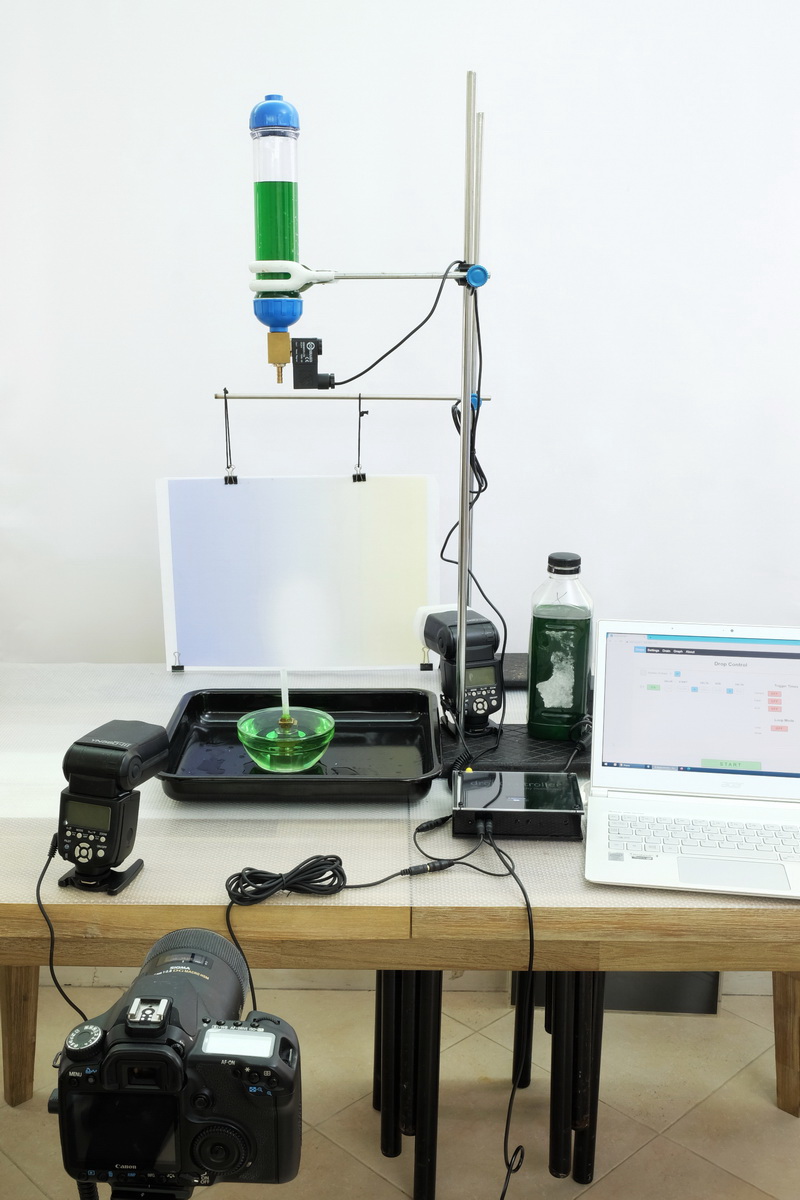
The dropControllerV4 is fairly straight forward to set up:
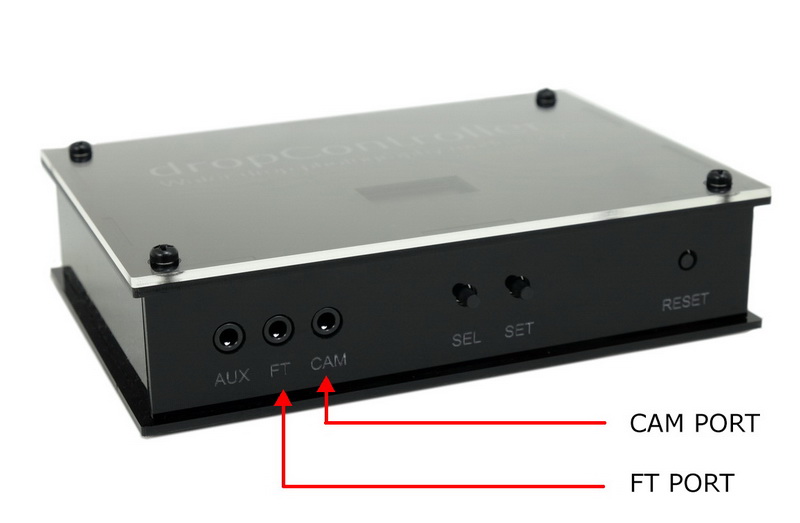
- Shutter trigger lead – CAM port to camera remote shutter connection.
- Flash trigger lead – FT port to flash or wireless trigger.
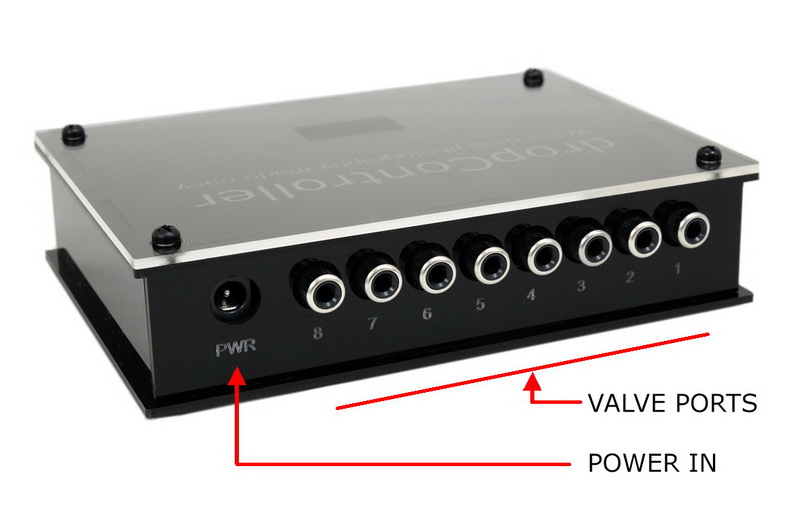
- Solenoid valve to one of the valve ports.
- Power in to the PWR port.
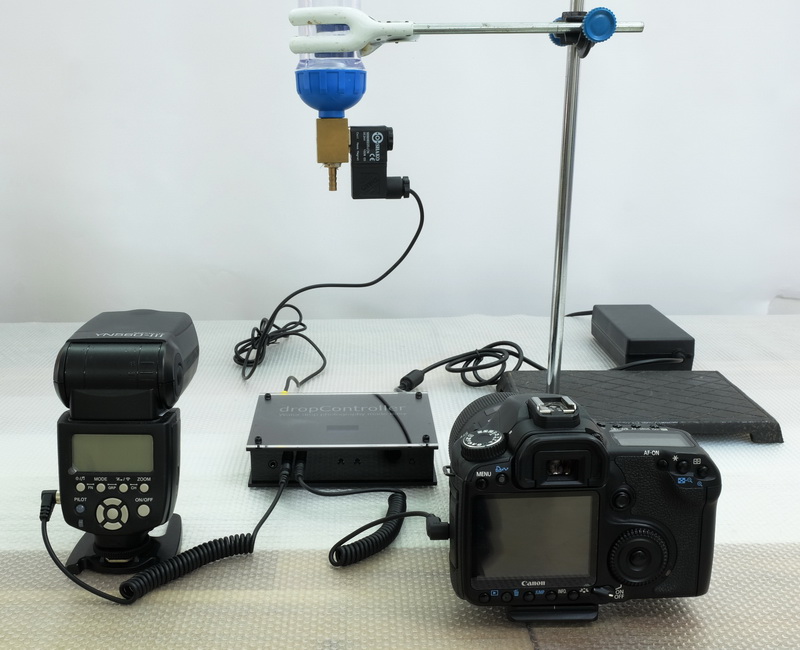
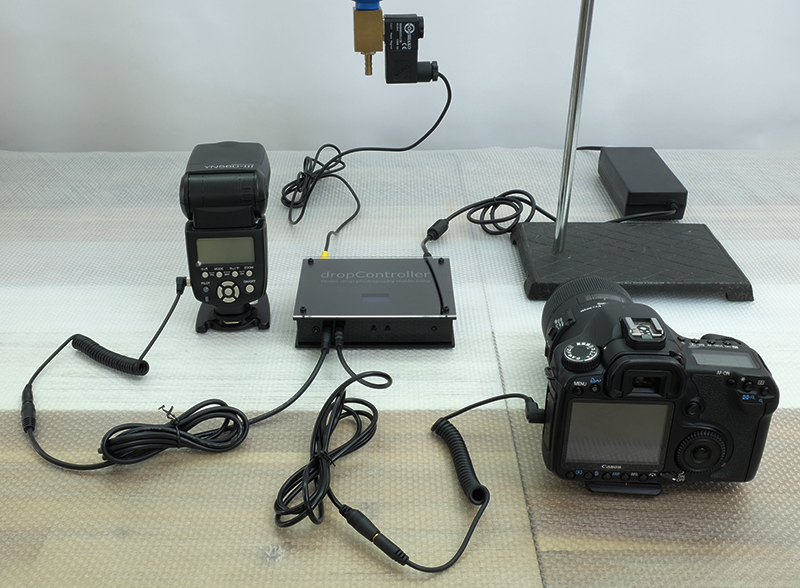
dropControllerV4 with camera and flash connected.
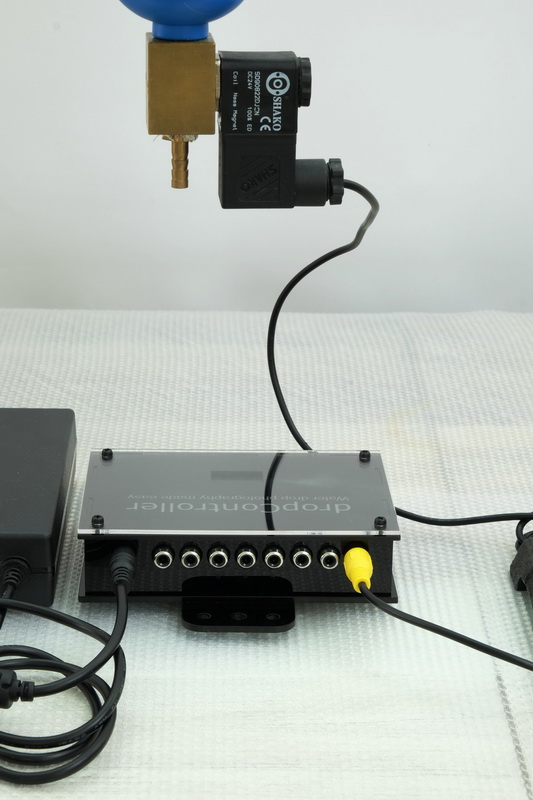
At the back, a valve is connected to Valve Port 1 and the power lead is in plugged into the PWR Port. Here I am using a 24V power supply with a 24V Shako valve.
If you have a new dropController you may need to add the valve lead to the valve. See the valve connection guide.
Two extension leads are provided to make the shutter and flash leads longer if required.

Multiple flash can be connected to the FT Port. A simple way to add more is to use Y Cables/headphone splitter leads. Here two flash are connected together using a Y cable.
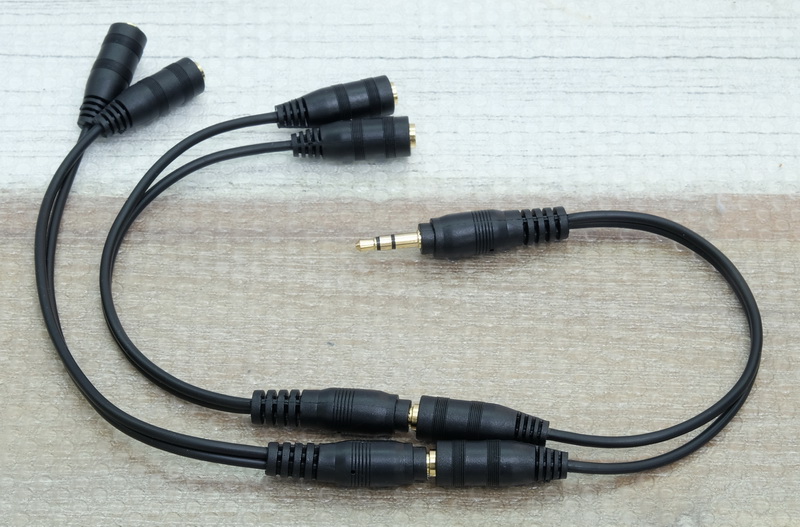
Y cables can be piggy backed to add more flash.
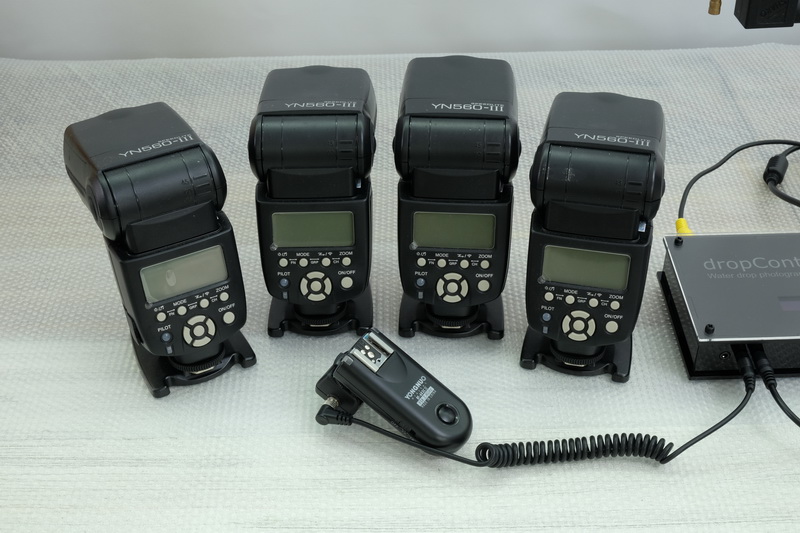
Once you start using multiple flash, a wireless system is a more convenient option. Here is my Yongnuo set. Unfortunately, the Yongnuo transmitter does not have a trigger in socket so a hotshoe adapter is required.
How to trigger the flash
There are two main ways of triggering flash:
1 – triggered by the camera
2 – triggered by the dropController
Either way can be used with the dropController, and drop photography, but I always recommend connecting the flash to the dropController and using the flash trigger function in the app. Allowing the dropController to trigger the flash allows for extremely accurate and precise trigger times. It also allows you to use a more traditional high-speed photography workflow of using the flash to make the image.
For details about a simple two flash set up, have a look at dropControllerV4: First Drops