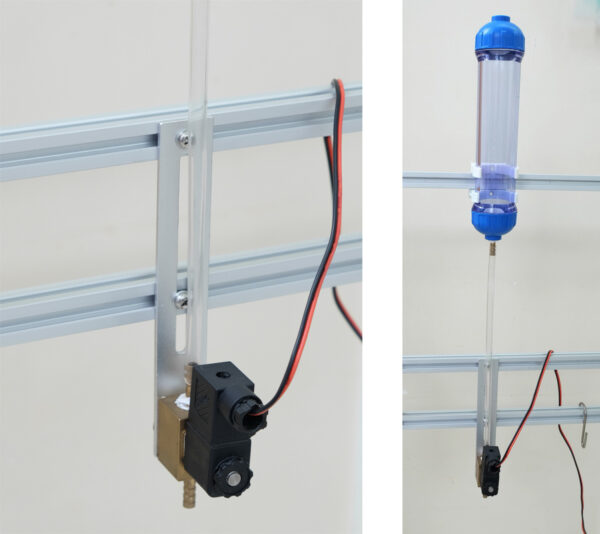
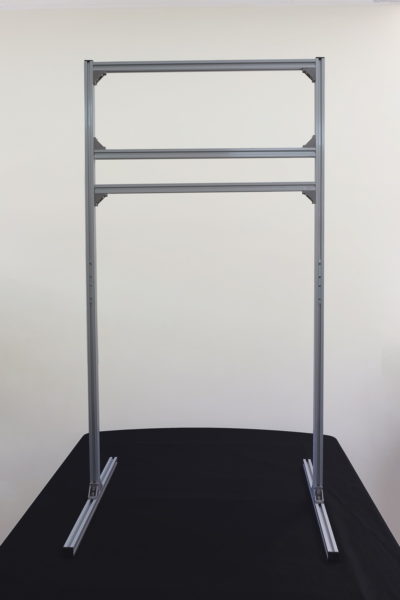
The frame is fairly straight forward to put together. Start by laying out all the parts and make sure you have everything.
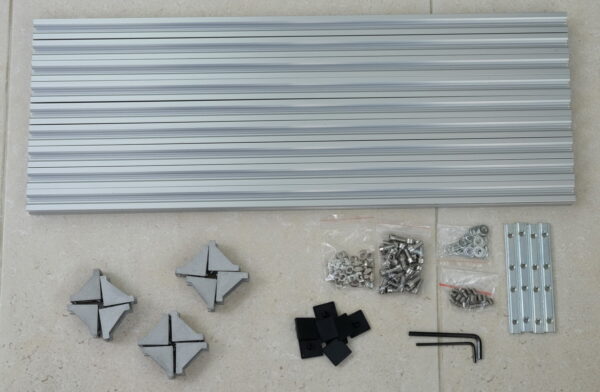
9 x 500mm 2020 T-Slot aluminium extrusion
10 x corner + M5 nut, bolt, washer set
4 x straight joiner + M5 grub screw
6 x end cap
2 x Allen Key
There should be some spare parts with the order.
Easy Fit
The frame comes with easy fit corners and nuts. The nuts are designed to fit through the hole in the corner. This means you do not need to feed the nut in to the extrusion.
You can attach the nut and washer to the bolt and the drop in to place.
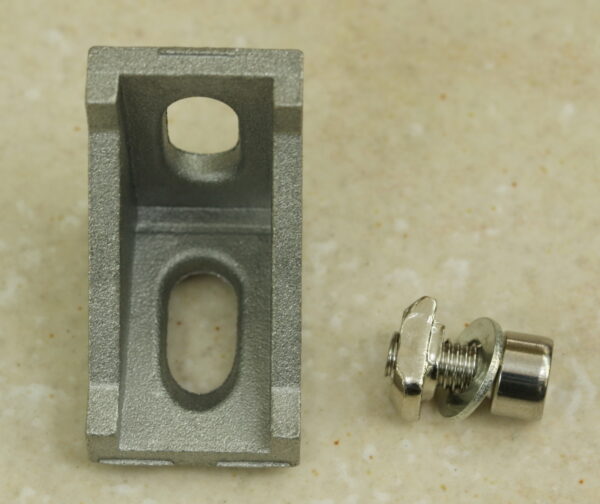
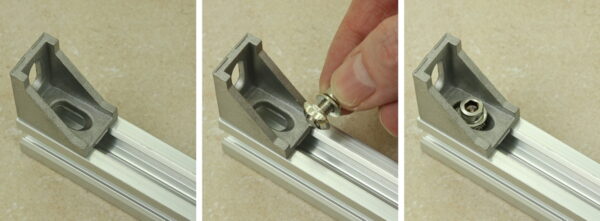
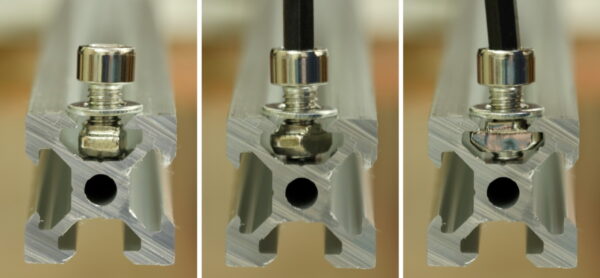
As the bolt is tightened the nut rotates and locks in place. To help the nut rotate push down slightly when tightening. Sometimes the nut may not rotate and will not lock in to place; loosen and try again.
Assembly
To get an idea how the frame will look you can layout the parts as they will be when assembled. The total height is just over 1 metre and the width is 50cm.
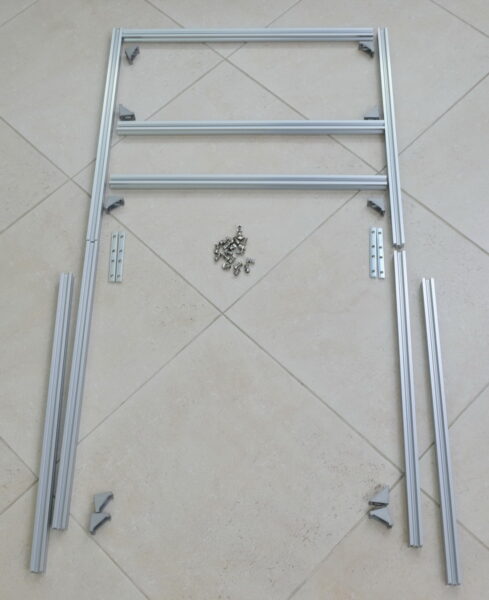
Start by putting the two main supports together. Put the grub screws about half way in to the straight joiners.

Feed a straight connector, about half way in to the end of one of the lengths of extrusion and tighten the grub screws using the small Allen key.

Then slide the second piece of extrusion on to the connector and tighten the screws.
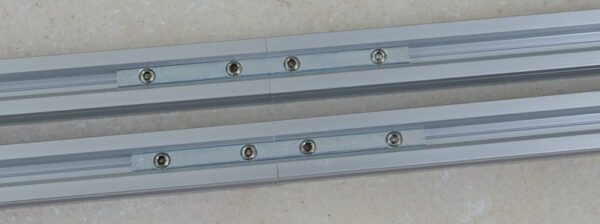
Add another joiner to the opposite side.
If you feel like it you can prepare all the nuts & bots. You need 20 sets in total.
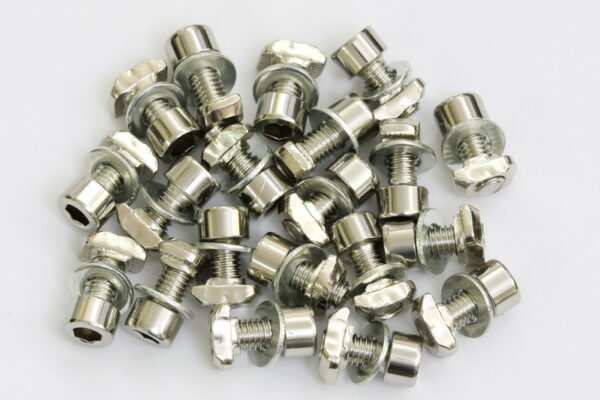
Next up, the corners. I find it easiest to attach the corners to the horizontal pieces first than attach to the uprights.
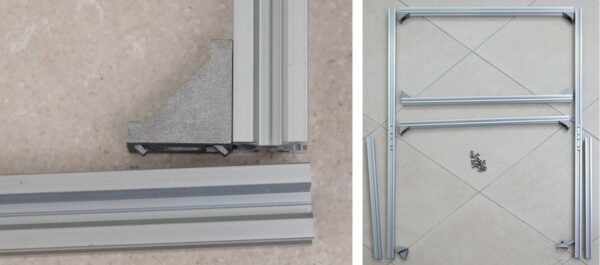
Attach the cross pieces to one of the uprights. You want the straight joiners to be at the front and back.
You can’t see from the photo but to get the middle pieces level I marked the position with a small bit of clear tape. The centre pieces can be moved up and down to adjust the height of the valves and the exact position is entirely up to you.
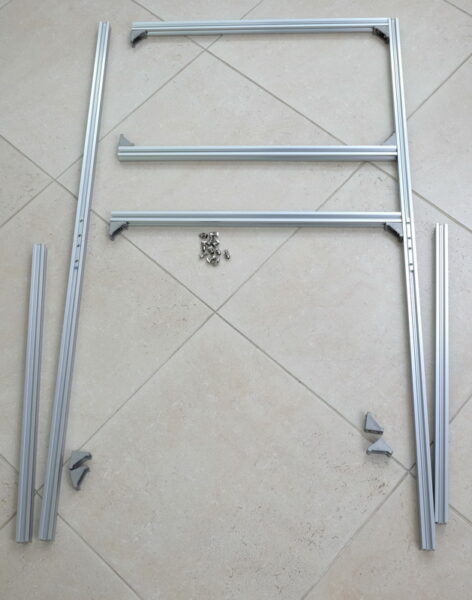
Attach the opposite side.
This can be fiddly and I stand the frame on its side when I do this part. Not attached part at the bottom.
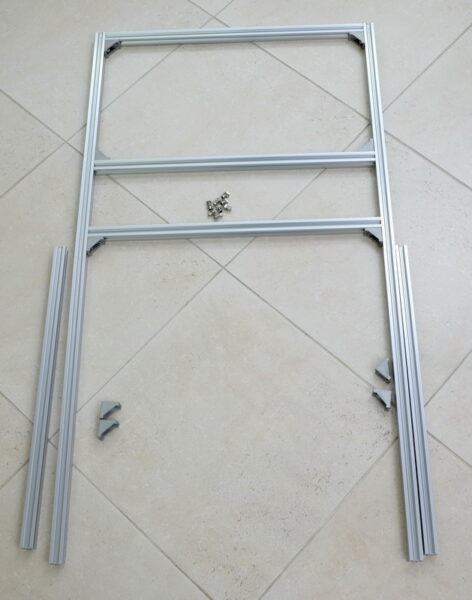
All that’s left is are the feet.
attach two corners to the bottom of the uprights.
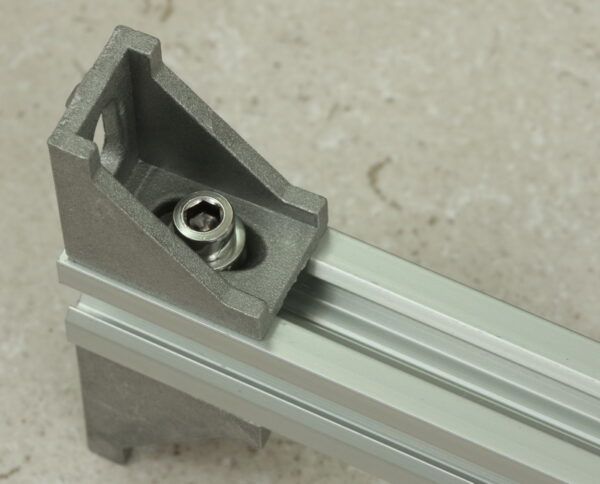
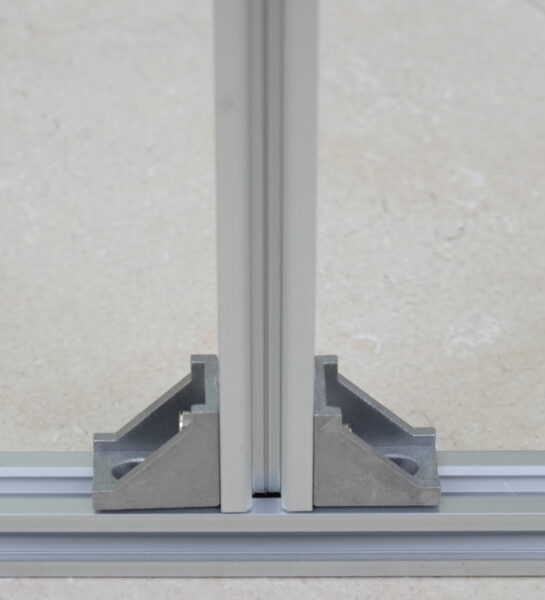
Once the corners are attached you can carefully stand the stand on the feet while you fasten the main body. I haven’t quite got the feet level here. To make them flush just lossen, adjust, re-tighten.
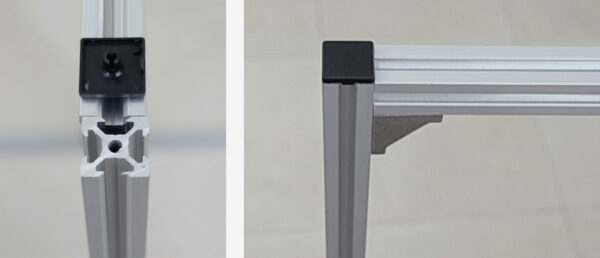
The final stage are the end caps. These simply push on to the ends of the extrusion.
Attaching Valves
Available separately, the valve brackets allow you to easily attach the valves to the frame.
